Last Updated on April 30, 2023
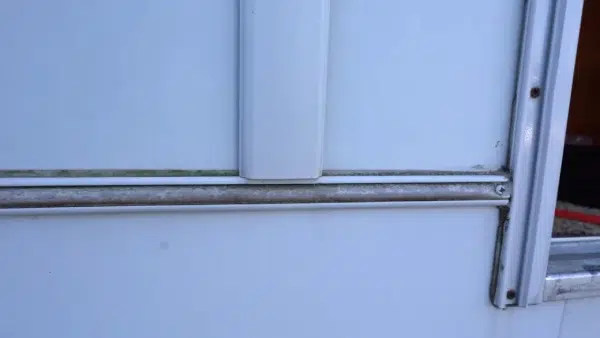
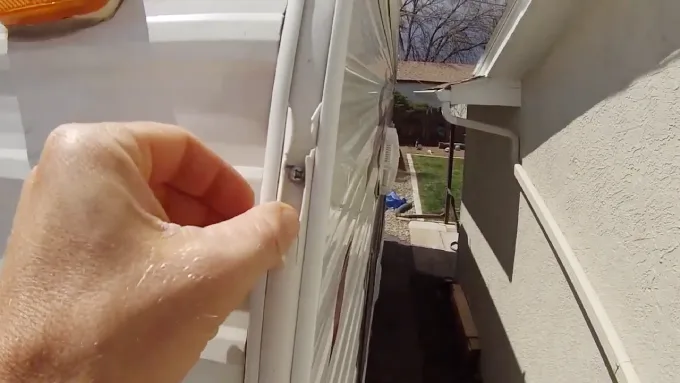
The gleaming white rubber trim on your RV adds a touch of sophistication and style to your RV and makes it function well.
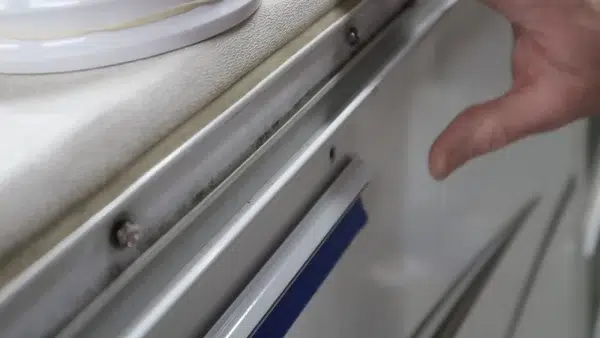
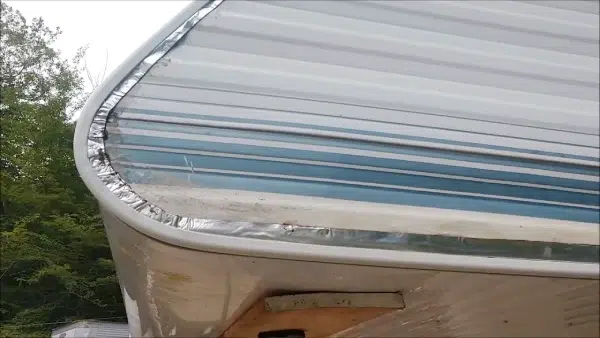
Over time, exposure to the elements can cause this pristine white rubber trim to lose its luster and become dull, dirty, and even discolored. You can easily keep your RV’s white rubber trim looking its best with a few simple steps.
Start by giving the trim a thorough rinse, then apply some mild soap or specialized cleaner and let it sit for several minutes before scrubbing lightly in circular motions using nothing tougher than a soft-bristled brush.
Finish off perfectly by washing away any remaining grime, followed by one final polishing from an absorbent microfiber cloth.
Ready to make your white rubber trim look stunning? We’ll provide the detailed steps you need to keep it looking perfect. Let’s get started.
How to Clean White Rubber Trim On RV: Step-By-Step Guide

Ready to restore your RV’s white rubber trim? Follow these easy steps for a fresh, like-new look:
Gather the Supplies You’ll Need
You will need a few materials to get your RV’s white rubber trim cleaned properly. These materials include:
- Rubber cleaner: A specialized cleaner designed for use on rubber surfaces. Look for a cleaner that is safe to use on white rubber and won’t cause any discoloration or damage.
- Soft-bristled brush: A soft-bristled brush is ideal for scrubbing the white rubber trim. Avoid using a stiff brush, as this can cause damage to the surface.
- Bucket of water: You’ll need a bucket for rinsing off the cleaning solution and any dirt or grime that has accumulated on the rubber trim.
- Microfiber towel: After cleaning, use a microfiber towel to dry the white rubber trim. Microfiber towels are gentle on surfaces and won’t leave behind fibers or lint.
Rinse the Area
Before applying any cleaning solution to the white rubber trim on your RV, make sure you rinse it first. This step will help remove any loose dirt or debris that may scratch or damage the surface during cleaning.
You will need a hose with a spray nozzle attachment or a pressure washer to rinse the area. Start by spraying water onto the white rubber trim from top to bottom, covering all areas. Use moderate pressure to avoid damaging the rubber trim.
If there are stubborn stains or dirt buildup, you can use a soft-bristled brush to gently scrub the area while rinsing with water at the same time. Be careful not to use too much force, as this can cause scratches and damage to the rubber trim.
Apply Cleaning Solution
Once you have removed any loose dirt or debris, you are ready to apply a rubber trim cleaning solution.
There are several types of cleaning solutions that you can use for this task. One popular option is a mixture of water and vinegar.
This natural solution effectively removes dirt and grime without damaging the rubber trim. Mix equal parts water and vinegar in a spray bottle, then spray it onto the white rubber trim.
Another option is a commercial cleaner designed explicitly for rubber surfaces. These cleaners are formulated to break down dirt and grime while also protecting the rubber from damage. Make sure to follow the manufacturer’s instructions when using these products.
Scrub the Area
Now it’s time to scrub the rubber trim and remove any dirt that is still clinging to the surface. Scrubbing helps to remove any stubborn dirt or grime that may have accumulated on the surface of the rubber trim.
To begin scrubbing, you will need a soft-bristled brush or sponge. Avoid using abrasive materials such as steel wool or rough brushes, as they can scratch and damage the rubber trim.
Start by applying a small amount of cleaning solution onto the brush or sponge. Then, gently scrub the white rubber trim in circular motions, working from one end to the other. Be sure to apply enough pressure to remove dirt or grime but not too much to risk damaging the rubber.
Pay extra attention to any areas that appear particularly dirty or discolored. You may need to scrub these areas more until they are clean.
Rinse Again
After scrubbing your RV’s white rubber trim, it’s essential to rinse off any remaining dirt, grime, or cleaning solution.
To do this, simply use a hose or bucket of water to rinse off the area thoroughly. Ensure all cleaning solution has been removed, as any residue left behind can cause discoloration or even rubber deterioration over time.
It’s also important to pay attention to hard-to-reach areas, such as corners and crevices, where dirt and grime can accumulate. Use a soft-bristled brush or cloth to gently scrub these areas and ensure that they are properly rinsed.
Dry the Area
After you clean the rubber trim on your RV, it is important to dry it off properly to avoid any water spots or streaks. A microfiber towel is the best way to dry off the white rubber trim. Microfiber towels are soft and gentle on surfaces, and they absorb water quickly.
To begin drying off the white rubber trim, start at the top and work your way down. Use a clean microfiber towel and gently wipe the surface back and forth. Avoid applying too much pressure, as this may cause damage to the rubber.
If there are any hard-to-reach areas, you may use a soft-bristled brush or toothbrush to remove any excess water gently. Make sure to dry those areas thoroughly with a microfiber towel afterward.
It is important to note that you should never let the white rubber trim air-dry, as this can cause water spots and streaks. Also, avoid using a regular towel or cloth, as these materials can leave behind lint or scratch the surface of the rubber.
Maintenance Tips to Keep Your White Rubber Trim Looking Great

Maintaining the clean and shiny white rubber trim on your RV is important for aesthetic reasons and to prevent damage from UV rays, weather elements, and other environmental factors. Here are some things you can do to keep your trim looking good:
Regular cleaning: It is important to clean the white rubber trim regularly to prevent dirt, grime, and other debris from building up. Use a mild soap solution or a specialized RV cleaner to scrub the rubber trim’s surface gently.
Protect from UV rays: The sun’s UV rays can cause discoloration and cracking of the white rubber trim over time. Use a UV protectant spray specifically designed for rubber surfaces to protect it.
Inspect regularly: Regularly inspecting your RV’s white rubber trim can help you identify any signs of wear or damage early on. This way, you can address any issues before they become more serious.
Store properly: When storing your RV, make sure it is covered and protected from the elements as much as possible. This will help prevent damage to the white rubber trim caused by exposure to weather conditions.
Check for leaks: Water leaks can cause damage to the white rubber trim over time. Check for leaks regularly and fix them as soon as possible to prevent further damage.
How often should I clean my RV’s white rubber trim?
The frequency of cleaning the RV’s white rubber trim may depend on various factors such as the environment, weather conditions, and usage.
As a general guideline, cleaning your RV’s white rubber trim at least once a month or more frequently if it is exposed to harsh conditions is recommended.
But, you may need to adjust the cleaning schedule based on the specific conditions your RV is exposed to.
If your RV is parked in an area with high pollution levels, dirt, or dust, you may need to clean the rubber trim more frequently to prevent dirt buildup.
Also, if you frequently travel in areas with saltwater exposure, it is important to clean the rubber trim more often to prevent salt buildup, which can cause damage over time.
Can I use bleach to clean my RV’s white rubber trim?

You can use a solution of liquid bleach, dishwashing detergent, and water in equal parts to clean your RV’s rubber trim. Simply mix the ingredients in a spray bottle and apply it to the heavily soiled areas of your vinyl trim.
But, be sure to use caution and follow proper safety precautions when working with bleach, such as wearing protective gloves and ensuring proper ventilation in your cleaning area.
Also, always test the solution on a small, inconspicuous area of the trim first to ensure it does not cause discoloration or damage. You should avoid using bleach on colored or painted surfaces, as it can cause fading.
Is it necessary to apply a rubber protectant after cleaning the white rubber trim on my RV?
Applying a rubber protectant after cleaning your RV’s white rubber trim is strongly recommended. Rubber is susceptible to degradation and damage from several environmental factors, such as UV rays, heat, and moisture.
Exposure to these elements can cause the rubber to dry out, crack, become discolored or fade. A rubber protectant helps nourish and moisturize the rubber and also provides a barrier against harmful UV rays and contaminants.
It can prolong the life of the rubber and keep it looking clean and fresh. A rubber protectant can also repel dirt, dust, and other debris, making it easier to clean and maintain the appearance of your RV’s white rubber trim.
Therefore, using a rubber protectant is essential for maintaining the integrity and aesthetics of your RV’s rubber trim.
Say Goodbye to Dirty White Rubber Trim with Right Cleaning Method
Taking care of your RV by cleaning its white rubber trim is a must. Not only will it ensure the vehicle looks great, but it will also help extend its life.
Following the steps outlined in this article, you can ensure that your white rubber trim remains clean and shiny for years.
Every step is crucial in achieving a satisfactory outcome, from preparing your RV before cleaning to using the right materials and techniques.
Regularly cleaning your white rubber trim can prevent the build-up of dirt and grime that may cause discoloration or even damage.
Also, by following the maintenance tips provided in this article, you can keep your white rubber trim looking its best between cleanings. So, take a break and show your RV’s white rubber trim some loving care. It’ll be worth it in the long run.


