
Last Updated on April 13, 2023
If your camper awning is starting to show its age, you may be considering giving it a new paint job. The question is, can you paint a camper awning?
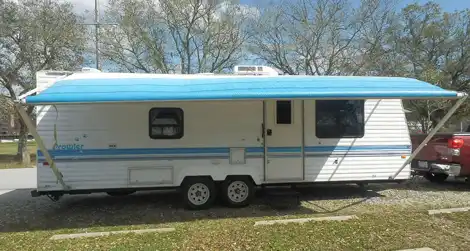
Various types of awnings are available, such as aluminum, vinyl, fixed, and pop-up. Would it be possible to paint all these types of awnings? You need to know the answer to this question before commencing any work.
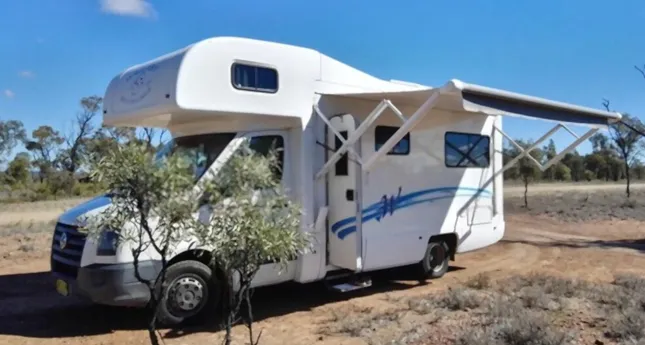
An RV awning can provide some much-needed shade and protection from the elements, making it a worthwhile investment for any avid camper. Aside from providing shelter from the sun and rain, awnings also create a more comfortable camping experience by blocking out some of the wind.
That is why it is important to keep your awning in good condition. We will gradually explain in finer detail if you are allowed to paint your RV awning or not.
Can You Paint a Camper Awning? Let Us Explain
A camper awning can be painted. Prior to painting, it is necessary to select the appropriate type of paint and prepare the surface correctly.
Otherwise, the paint may not adhere properly or may not last as long as desired. When picking paint, be sure to select a product designed to be used on awning fabric.
These products usually have good coverage and can resist fading and mildew. All types of awnings can be painted, but the best results will be achieved if the awning is made of vinyl or acrylic fabric.
Aluminum and steel awnings can also be painted, but you should use a primer specially formulated for these surfaces before painting.
How to Paint a Camper Awning? Step-By-Step Guide
After knowing that you can actually paint the awning of your RV, now it’s time to learn how to do it. You should know the proper steps to take when you are painting a camper awning so that you do not ruin it.
We have prepared a detailed guide on how you can complete the project. Just follow these simple steps and you will have a new-looking RV awning in no time:
Step 01: Gather the Necessary Tools and Supplies
Before you begin painting the awning, make sure you gather all of the needed supplies and tools:
- A ladder that is tall enough to reach the awning
- Drop cloths or plastic sheeting to protect the ground beneath the awning
- Painter’s tape
- Soft cloth
- A soft scrub brush
- Mild soap
- Water
- A garden hose with a spray nozzle attachment
- Spray paint intended for awnings
After gathering all of the necessary supplies, you can now move on to the next step.
Step 02: Clean the Awning Fabric
Now that you’ve gathered all the required equipment and supplies, it’s time to clean RV awning. This is a vital step in the process because it will help ensure that the paint adheres properly and that the final results are as desired.
Start by setting up the plastic sheeting or drop cloths around the perimeter of the canvas awning. This will protect the ground from paint, soap, and water.
Next, mix a solution of mild soap and water in a bucket. Take the ladder and climb up so that you can reach the awning. Dip the soft scrub brush into the RV awning cleaner and use it to scrub the entire awning surface.
Be sure to pay special attention to areas that are particularly dirty or stained. Rinse the awning thoroughly with clean water from the garden hose. Allow the awning to air dry completely before continuing.
Step 03: Inspect the Awning
Having cleaned and dried the awning, it is now time to inspect it for any damage. Look for rips, holes, or other types of damage that may need to be repaired before painting.
Mark any areas that require repair with the painter’s tape if necessary. Small holes can usually be patched with a bit of fabric and adhesive. Larger holes or tears will likely need to have a new piece of the awning fabric.
Step 04: Repair the Awning
If you find any damage while inspecting the awning, you will have to make the necessary repairs. For small holes or tears, simply cut a piece of fabric awnings that is slightly larger than the damage.
Apply adhesive to the back of the patch and press it into place over the hole or tear. Use a soft cloth to smooth out any wrinkles or bubbles. Allow the adhesive to dry completely because this step is important to ensure that the patch will stay in place while painting.
Step 05: Let’s Begin Painting
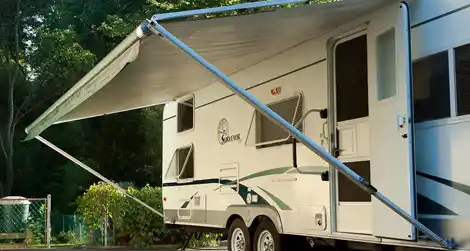
Now that the awning is clean, dry, and repaired, you are finally ready to paint it. First, you need to lower the arm of the awning in order to have easy access to the entire surface. Next, mark off with the painter’s tape any areas that you do not want to be painted.
This might include windows, doors, or other areas where the paint would not be desired. Once the areas have been taped off, you can begin painting. Take the can of spray paint and hold it about 10 to 12 inches away from the awning. Use steady, even strokes to apply the paint evenly over the entire surface.
Step 06: Allow the Paint to Dry
After you have painted the awning, you need to let it dry. This can take anywhere from a few hours to a few days, depending on the type of paint you used and the conditions.
During this time, it is crucial to keep the awning protected from the elements. If it rains or the temperature drops too low, the paint can take longer to dry, or it might not dry properly.
Step 07: Apply a Second Coat of Paint
As the paint has now dried, a second coat should be applied. This will help to ensure even coverage and prevent the formation of streaks or brush marks.
When applying the second coat, ensure that your strokes are light and even. Work in sections, and do not repeat the same action more than once. Once the second coat is dry, the awning will look good as new.
Frequently Asked Questions:
People have many questions when they are considering painting their camper awning. Here are some of the most frequently asked questions and their answers.
1. How Often Should You Repaint Your Camper Awning?
The frequency of repainting your camper awning will depend on several factors, including the type of material, the climate, and how often you use the awning.
For example, an acrylic awning in a dry environment may only need to be repainted every 5-7 years, while a vinyl awning in a humid climate may require repainting for approximately 3-5 years.
If you use your awning frequently, you may also want to repaint it more often to keep it looking its best. Regardless of the frequency, it’s important to inspect your awning regularly for signs of damage and to repaint as soon as possible if you notice any damage. By taking good care of your awning, you can prolong its life and enjoy many years of use.
2. What Color Should You Paint the Camper Awning?
A few factors should be taken into consideration when choosing the color of your camper awning. Think about the overall look you want to achieve. If you want your camper to blend in with its natural surroundings, then choosing a neutral tone like brown or green is a good idea.
On the other hand, if you wish to make your camper stand out from the crowd, then choosing a bright color like yellow or red is a better option.
3. What Kind of Paint Do You Use on RV Awnings?
Acrylic paint is a good choice for awnings because it can be used on outdoor surfaces. It is also highly resistant to fading and peeling, so you can be sure that your awning will look great for years to come.
Make sure to use paint that is intended for application to RV awnings. Do not use regular house paint, as this will not hold up well to the elements and will likely peel and fade quickly.
4. How Do You Keep Paint from Peeling on an RV Awning?
One of the best ways to ensure that the paint on your RV awning does not peel is to regularly clean and inspect it. Dirt, debris, and other foreign objects can build up on the surface of the awning and cause the paint to peel ultimately. Therefore, it’s important to clean the awning regularly with a soapy water solution.
Inspect the awning for signs of wear and tear as well. In the event that you observe cracks or holes in the fabric, be sure to patch them up immediately. By taking these simple steps, you can help extend the life of your RV awning and maintain its appearance.
Conclusion
We hope that the question “can you paint a camper awning?” has been answered to your satisfaction. It’s important to remember that while painting your camper awning is not a difficult task; there are a few things you should keep in mind in order to get the best results.
Be sure to use a paint specifically designed for covering RV awnings, and take the time to properly prepare the surface before painting. In addition, remember to use light, even strokes, and avoid going over the same area multiple times. By following these simple tips, you can achieve a professional-looking finish that will last for a long time.

