Last Updated on March 21, 2023
When it comes to giving your RV a fresh, new look, painting the countertops can make a big impact without breaking the bank. However, before you dive into this DIY project, it’s important to understand the proper steps and materials needed to achieve a long-lasting and professional finish.
You’ll learn how to paint RV countertops here, including how to choose the right paint and the factors to consider when choosing it. Don’t be afraid to tackle this project. Follow the instructions below to create your own beautiful, personalized RV countertop.
How Can You Paint RV Countertops?
Using the right technique, tools, and materials, a dull or outdated surface can be transformed into something fresh and modern. Here are the steps you must follow when painting RV countertops.
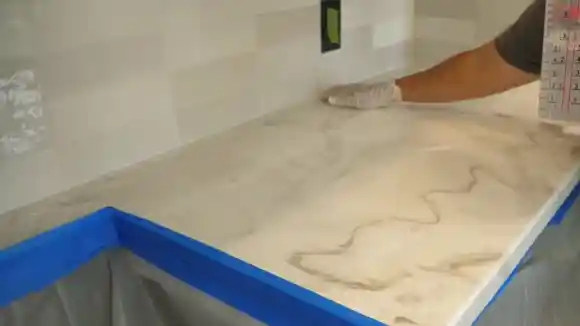
Step 1: Sanding the countertop surface
The first step in painting your RV countertops is thoroughly preparing the surface. Sanding helps remove old paint and surface irregularities and creates a smooth surface for the primer and paint to adhere to. Use 120-grit sandpaper to sand the entire countertop thoroughly.
Then, switch to a finer 220-grit sandpaper to finish the process. Remember that dust and debris generated from sanding should be wiped away with a damp cloth or vacuumed. A clean, dust-free surface ensures better adhesion of primer and paint.
Step 2: Removing the T-trim on the edge of the countertops
If your RV countertops have T-trim edging, this should be removed before painting. Carefully pry off the T-trim using a flathead screwdriver or pliers, ensuring you do not damage the countertop’s edge.
Once the T-trim is removed, the entire surface will be exposed, making creating a uniform paint application easier.
Step 3: Priming the surface
A primer is essential to create a strong bond between the countertop surface and the paint. A primer also improves paint coverage, prevents peeling, and creates a durable surface. Choose a high-quality, oil-based primer for optimal results.
Apply a thin, even coat of primer using a brush, roller, or sprayer. Allow the primer to dry per the manufacturer’s instructions, typically 24 hours.
Step 4: Painting RV Countertops
Once the primer is dry, it’s time to choose the appropriate paint specifically designed for countertops. These paints are formulated to be durable and resistant to heat, moisture, and scratches.
Remember that paint should be applied in thin, even coats to prevent clumping and ensure a smooth finish.
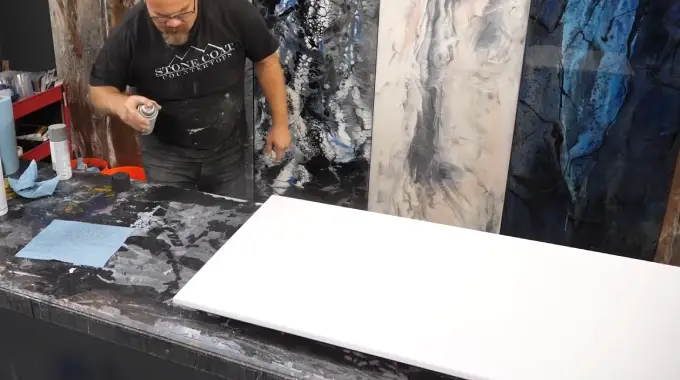
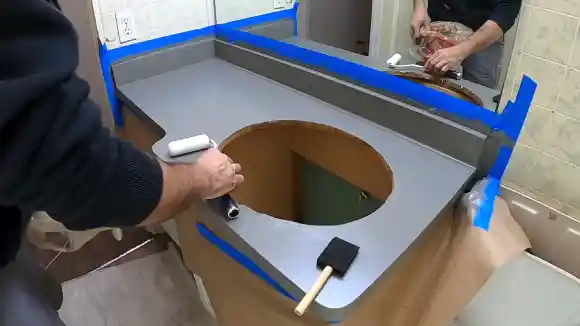
Step 5: Applying paint
Depending on your preference, there are three methods for applying paint to your RV countertops:
Spray Painting: A spray gun offers a smooth and seamless finish. When using a spray gun, wear protective gear and cover surrounding surfaces to prevent overspray. Apply light, even pass with the spray gun, keeping a consistent distance from the surface.
Brush Painting: Using a high-quality paintbrush, apply thin, even coats of paint. To avoid brush marks, use long strokes in the direction of the grain, maintaining a wet edge. Multiple coats may be necessary to achieve the desired color.
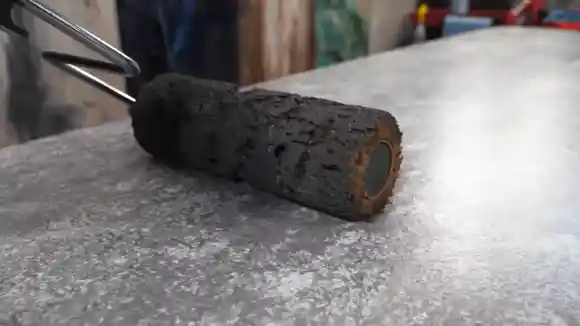
Roller Painting: A foam roller is an excellent tool for applying paint to large, flat surfaces. Dip the roller into the paint tray and evenly distribute the paint across the surface using light pressure. Like brush painting, use long, even strokes and maintain a wet edge to prevent roller marks.
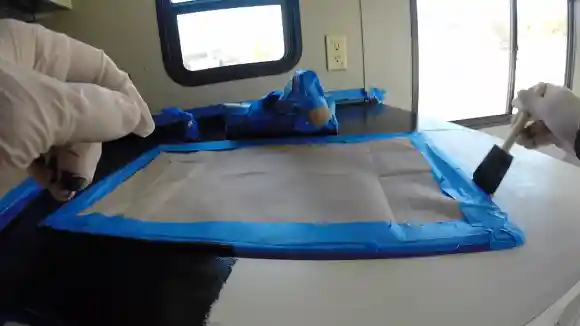
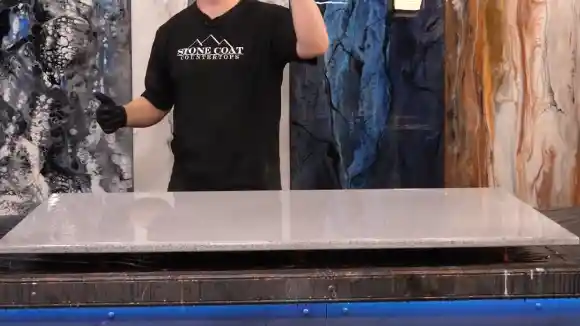
Step 6: Sealing RV Countertops
A durable, clear sealer is crucial to protecting your newly painted countertops. A water-based polyurethane sealer offers a non-yellowing, glossy finish that withstands daily wear and tear.
Apply at least two to three coats of sealer, allowing each coat to dry according to the manufacturer’s instructions. Once sealed, your RV countertops will be ready for use after the sealer has fully cured.
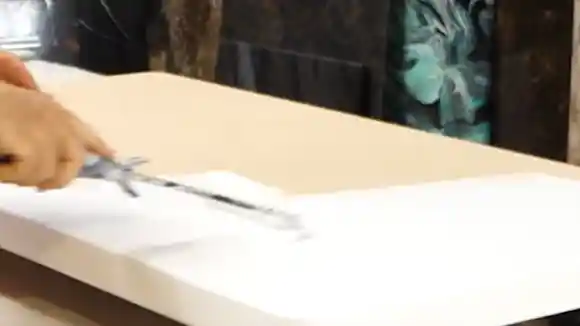
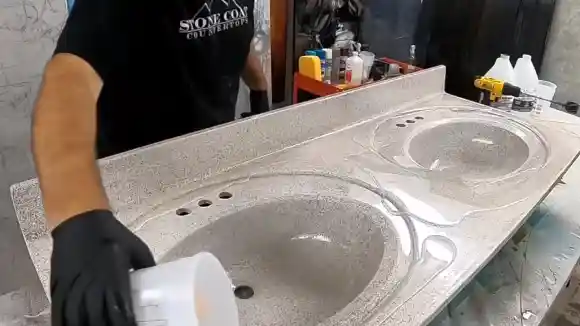
Step 7: Optional: Add decorative flecks
You can add decorative paint flecks to your countertop’s finish for a granite or quartz-like appearance. These decorative flecks are available in various colors and sizes, adding depth and texture to the surface. Apply the flecks while the paint is still wet, then seal the countertops as outlined in Step 6.
Types of Paint for RVs
The choice of paint is one of the most critical factors contributing to any countertop’s visual appeal and longevity. Here, we explore different types of paint suitable for RV countertops, highlighting their unique properties, application processes, and best uses.
1. Acrylic Paint
In RV countertops, acrylic paint, also called latex paint, is a cost-effective option. It is easy to clean and dries quickly, making it a popular choice for those looking for a fast and straightforward painting project.
However, it may not be as durable as other paints and may fade or peel over time in areas with heavy use or frequent cleaning. Acrylic paint is ideal for light-use areas that require minimal maintenance.
2. Oil-Based Paint
When compared to acrylics, oil-based paints are often considered more durable. They are resistant to chipping or peeling and waterproof, making them great options for countertops in moist areas or requiring heavy use or frequent cleaning.
Oil-based paints generally take longer to dry than acrylics due to their strong odor during application, so proper ventilation is necessary during the painting process. As long as the fumes are properly vented out of the area, oil-based paints can provide an extremely tough finish that stands up to wear and tear better than acrylics.
3. Enamel Paint
It is common for RV countertops that are heavily used or have to be cleaned frequently to be painted with enamel paint. This type of paint has a hard, glossy finish resistant to chipping, peeling, and other forms of wear and tear. Enamel paint is also waterproof and easy to clean, ideal for kitchens and bathrooms.
One of the drawbacks of enamel paint is its strong odor, which can be unpleasant and may require adequate ventilation during application. Additionally, enamel paint may require multiple coats to achieve full coverage depending on the painted surface.
4. Gel Coat
RV exteriors and countertops commonly feature gel coat paint. It is a thick, resin-based paint that dries to a hard, durable finish. The gel coat is waterproof and resistant to chipping and peeling, making it an excellent option for countertops in moisturizing areas.
However, applying a gel coat can be difficult and require professional assistance. It is best used on countertops that require frequent cleanings, such as kitchens and bathrooms.
5. Epoxy Paint
The durability and high-gloss finish of epoxy paint makes it a popular choice. Combining a resin and hardener, this two-part paint chemically bonds together, creating a hardened surface resistant to chipping, peeling, and staining. Its impermeable waterproof layer makes the countertop easy to clean and maintain.
While epoxy paint is more expensive than other countertop paints, its ability to withstand heavy use and frequent cleaning makes it an ideal choice for countertops in recreational vehicles. Remember that the application process can be time-consuming, often requiring multiple coats for even coverage and full protection of the countertop substrate.
6. Polyurethane Paint
It also offers excellent durability and resistance to chipping, peeling, and heavy use. The glossy finish contributes to its visual appeal, while its waterproof properties make it one of the best choices for RV countertops. Furthermore, polyurethane paint is easy to clean, ensuring your countertop looks brand new for years to come.
Polyurethane requires multiple coats for the best coverage and protection. It is essential to provide proper ventilation during the painting process due to the pungent odor of the product.
When selecting polyurethane paint for your RV countertop, consider both oil-based and water-based options, as each offers distinct advantages and drawbacks depending on your preference.
Factors to Consider When Choosing RV Paint
Several factors must be considered when choosing RV paint to ensure you get the best results. These factors include the type of surface, environmental factors, durability and longevity, aesthetics and design, and cost and budget.
Type of Surface
When selecting the perfect RV paint, it is essential to consider the type of surface to which the paint will be applied to. The quality of the primer plays a significant role in this process.
High-quality paint primers are designed to provide excellent adhesion properties and create a uniform surface for proper coverage. Moreover, the compatibility of the paint with the type of surface, such as fiberglass, aluminum, or metal, should be assessed, as their varying compositions can affect adherence and durability.
Pair coatings can also greatly benefit, offering superior durability and resistance to chipping, corrosion, and ultraviolet (UV) rays.
Environmental Factors
Environmental factors can largely influence the performance of RV paint, especially when considering the location of vehicle storage and the driving conditions.
For instance, city driving can cause more damage to the paint due to pollutants, debris, and possible scratches, whereas highway driving is generally gentler on the paint.
Factors such as intense sunlight, extreme temperature fluctuations, and coastal or crowded urban areas should also be considered, as they may impact the durability of the paint and the frequency of repainting necessary to maintain a pristine appearance.
Durability and Longevity
Examining alternative coatings, such as ceramic ones, which can further safeguard your RV, is crucial to enhancing protection and longevity. Ceramic coatings provide a robust barrier against contaminants and are more resistant to chemical etching and UV damage.
These coatings are often easier to apply on new units; however, their costs can vary based on factors such as coating quality, RV size, and the vehicle’s overall condition. Ultimately, investing in high-quality paint that prioritizes durability and longevity will save you time and resources in the long run.
Aesthetics and Design
The appearance of your RV is another critical factor to consider when choosing the ideal paint. The color and finish you choose will substantially reflect your style and the overall aesthetic you wish to achieve.
Moreover, custom-designed paint jobs or decals can add a unique touch to your RV, making it stand out and genuinely represent your taste. Thoroughly researching various designs, colors, and finishes can make all the difference in turning your RV into a one-of-a-kind masterpiece.
Cost and Budget
Regarding RV paint options, the price range can vary dramatically, with factors such as the type of paint, the design’s complexity, and the paint job’s extent directly influencing the overall cost.
Establishing a clear budget is vital for determining the ideal paint for your RV without breaking the bank. Be sure to compare prices and the quality of work from several professional RV painters or paint shops for the best value.
Furthermore, don’t hesitate to ask for quotes, warranty information, and examples of their past work so you can make an informed decision that suits your budget and expectations.
Can You Paint Over the Laminate Countertops in the RV?
Painting over laminate countertops in RVs is possible, but you must ensure good adhesion by preparing the surface properly. Begin by thoroughly cleaning the countertop to remove any grease or dirt, then sand the surface to create some tooth for the paint to grip.
Apply a high-quality primer specifically designed for laminate surfaces, and allow it to dry as the manufacturer recommends. Choose a durable, waterproof paint suitable for countertops, and apply at least two coats for an even, long-lasting finish.
You can also opt for a countertop refinishing product or paint kits designed explicitly for laminate countertops, often providing more reliable and durable results.
Can You Use Rustoleum Paint on Countertops?
Rust-Oleum paint can be used on countertops, specifically with the Rust-Oleum Countertop Coating product. This product is designed to renew laminate countertops, cabinets, and furniture, providing a durable finish that resists moisture and household chemicals.
Available in 12 light color options, the Rust-Oleum Countertop Coating requires no primer and can be easily washed with mild detergent or cleaner. This affordable and straightforward updating option is suitable for both kitchens and bathrooms, allowing you to update your countertops with minimal effort and expense.
Does painting countertops on an RV really work?
Painting countertops on an RV can effectively update the look of the kitchen or bathroom and can provide a cost-effective alternative to replacing them.
The success of painting countertops depends on several factors, such as the condition, the type of paint used, and the proper preparation and application of the paint.
For good results, it is essential to start with countertops that are in good condition. Countertops with significant damage or wear may not be viable candidates for painting. Using high-quality, durable paint specifically designed for countertops, such as epoxy or acrylic-based paints, is crucial.
Before painting, thoroughly clean and sand the countertops, apply a suitable primer, and use multiple coats of paint to achieve a smooth and long-lasting finish.
Is Painting Your RV Countertops a Good Idea?
Painting RV countertops can be a good idea to give your interior a quick and cost-effective update. Using a high-quality countertop paint like Rustoleum can achieve a durable and attractive new finish.
However, it’s important to carefully sand and roughen your existing RV countertop’s surface to ensure proper paint adhesion. This will provide the best possible outcome and help avoid issues like chipping, peeling, or premature wear.
What happens if you paint laminate countertops in an RV?
When you paint laminate countertops in an RV, you can give them a refreshed and updated look. The process involves preparing the surface by thorough cleaning and sanding to ensure smooth adhesion of the primer and paint.
A laminate paint primer enhances the paint’s durability and bonding. Oil-based or enamel paints are recommended for their endurance and resistance to wear and tear.
A glossy paint finish can provide a smooth and easy-to-clean surface, which is essential for RV countertops. However, it is important to note that painted surfaces are less durable than the original laminate material, requiring more frequent touch-ups or refinishing.
Transform Your RV Countertops with a Fresh Coat of Paint
Painting your RV countertops is a feasible and cost-effective way to upgrade and modernize your home on wheels. You can completely transform your RV countertops by carefully following the outlined steps and choosing the right type of paint for your specific needs.
But it’s more than just a monetary benefit: painting your RV countertops can create a personalized, aesthetically pleasing interior space that reflects your unique style and enhances your traveling experiences.
So, don’t shy away from embarking on this creative and fulfilling journey to improve your RV’s appearance and durability.

