Last Updated on May 1, 2023
Are you an avid RV traveler trying to keep your home on wheels in tip-top shape? Maintaining your RV’s vinyl flooring is essential to keeping it clean and fresh.
Fear not if you’re unsure how to effectively clean your RV vinyl floors. You can keep your vinyl floors clean and fresh with a few simple steps.
First, you should gather your supplies. Once you have everything you need within reach, clear the area around your RV of any debris or dirt. Then it’s time to clean your vinyl floors deep. Next, dry your vinyl flooring and polish it with a protective layer.
As we go along in this article, we’ll share these steps to make your vinyl floors sparkle like new. Whether you’re a full-time RVer or just an occasional weekend warrior, read on to learn everything you need about cleaning RV vinyl floors.
How to Clean RV Vinyl Floor: 5 DIY Steps

Cleaning your RV vinyl floor is an important part of maintaining the appearance and longevity of your vehicle. With the following simple steps, you can keep your flooring looking brand new for years.
Step 01: Gather Your Supplies
You must gather a few essential supplies to clean your RV vinyl floor properly. These items include a cleaning solution, mop or microfiber cloth, bucket, soft-bristled brush, and a vacuum cleaner.
When selecting a cleaning solution, choosing one specifically designed for vinyl flooring use is essential. Using the wrong type of cleaner can damage the surface of your floor and cause it to deteriorate over time. You can find vinyl-safe cleaning solutions at most home improvement stores or online.
A mop or microfiber cloth will be used to apply the cleaning solution to your RV vinyl floor. A bucket will be necessary for mixing the solution with water and for rinsing the mop or cloth as needed. A soft-bristled brush may also come in handy for scrubbing tough stains or areas with built-up dirt.
Step 02: Clear the Area and Remove Debris
Before you start cleaning your RV vinyl floor, it’s essential to clear the area and remove any debris that may be present. This will make cleaning easier and prevent any damage to your flooring.
Firstly, move any furniture or lost items from the floor. This includes chairs, tables, rugs, and any other objects that may obstruct your path. Doing this gives you a clear space to work on and you won’t risk tripping over anything while cleaning.
Next, sweep or vacuum the floor to remove any loose dirt or dust. Make sure to pay special attention to corners and edges where dirt tends to accumulate. You can use a soft-bristled brush attachment on your vacuum cleaner for this purpose.
It’s important to note that if there are any large spills or stains on your RV vinyl floor, you should pre-clean them before proceeding with the deep clean. To do this, blot the stain with a damp cloth and apply a vinyl-friendly cleaning solution. Allow it to sit for a few minutes before wiping it away with a clean cloth.
Once you’ve cleared the area and removed any debris, you can deeply clean your RV vinyl floor.
Step 03: Deep Clean Your RV Vinyl Floor
When it comes to deep cleaning your RV vinyl floor, there are a few steps you can take to make sure you get the best possible results. Here’s a step-by-step guide to help you through the process.
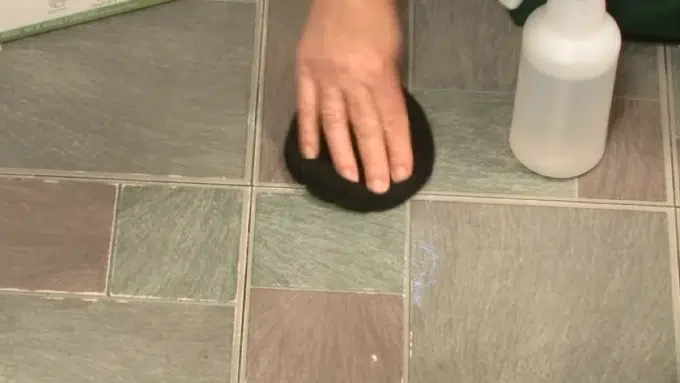
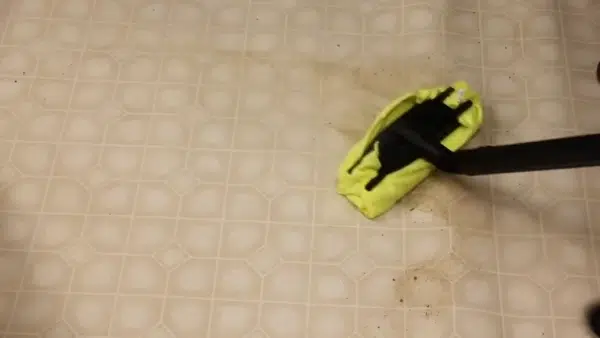
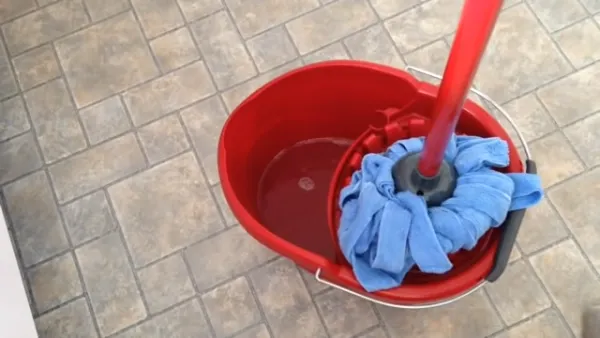
Mix your cleaning solution with water in your bucket according to the instructions on the bottle. Then use either your mop or soft-bristled brush to scrub the floor with the solution. Work in small sections to thoroughly clean each area before moving on.
Once you’ve scrubbed all areas of your RV vinyl floor with the cleaning solution, rinse it thoroughly with clean water. This will ensure that all traces of soap and dirt are removed from your flooring.
After rinsing, it’s essential to dry your RV vinyl flooring completely. If there is any excess water on the floor, wipe it up with a microfiber cloth and let it air dry completely before walking on it again.
Finally, if you want to polish and protect your motorhome vinyl flooring after deep cleaning it, consider applying a vinyl-safe protective coating according to its instructions. This will help keep your flooring looking great for years to come.
Step 04: Dry Your RV Vinyl Flooring
After cleaning your RV vinyl floor, it is important to ensure it is completely dry. Excess water can cause damage to the flooring and create a breeding ground for mold and mildew.
To dry your RV vinyl flooring, use a microfiber cloth to wipe up any excess water left on the surface. Be sure to touch gently to not scratch or damage the vinyl.
Once you have removed as much water as possible with the cloth, allow the floor to air dry completely. This may take several hours, depending on the humidity levels in your RV and the amount of water used during cleaning.
It is important not to rush this step by using fans or heaters, as this can cause warping or other damage to the vinyl flooring. Instead, be patient and allow nature to do its job.
After your RV vinyl floor has dried completely, consider applying a protective coating specifically designed for vinyl flooring. This will help keep your floor looking new and protect it from future stains and spills.
Step 05: Polish and Protect Your RV Vinyl Flooring
After deep cleaning and drying your RV vinyl floor, it’s important to polish and protect it to keep it looking new for as long as possible. Applying a vinyl-safe protective coating will help prevent scratches and scuffs and make future cleanings easier.
Several types of protective coatings are available, including waxes, sealants, and polishes. Be sure to choose one specifically designed for use on vinyl flooring.
To apply the protective coating, thoroughly clean the floor using the steps outlined in the previous sections. Once the floor is clean and dry, apply the coating according to the manufacturer’s instructions.
Some coatings may require multiple coats or a certain amount of drying time between applications. Be sure to follow all instructions carefully for the best results.
After applying the protective coating, let it dry completely before walking on or placing the furniture back on the floor. Regularly reapplying a protective coating can help extend the life of your RV vinyl flooring and keep it looking great for years to come.
How to prevent your RV vinyl floor from getting dirty?
When preventing your RV vinyl floor from becoming dirty, it is important to establish a few preventive measures to help minimize the amount of dirt and debris entering your RV. First and foremost, it is a good idea to place entry mats at the entrance of your RV.
These mats will help trap any dirt, dust, or debris from shoes before it enters the RV. Additionally, you should remove your shoes before entering your RV. This is a common practice in many households and is a simple step that can go a long way in reducing the amount of dirt that enters your RV.
Lastly, avoid dragging heavy objects or furniture across your RV vinyl floor as this can cause scuffs and scratches on your flooring.
How often should you clean your RV vinyl floor?
Regular cleaning of your RV vinyl floor is crucial to maintain its appearance and longevity. It is recommended to clean your RV vinyl floor at least once a week. But, this frequency may vary depending on the level of foot traffic in your RV.
If more people or pets are using your RV, you may need to clean your floors more frequently. Failure to do so can increase dirt buildup and decrease the lifespan of your vinyl floor.
Can you use bleach to clean your RV vinyl floor?
Contrary to popular belief, bleach is not a suitable cleaner for RV vinyl floors. Using bleach can cause discoloration and permanent damage to your vinyl floor over time
It is recommended to use mild cleaning solutions specially formulated for vinyl flooring. These cleaners typically have a neutral pH level that is safe for your vinyl floors.
Can you use a steam cleaner to clean your RV vinyl floor?
While steam cleaners can be a highly effective way to clean many types of flooring, they are not recommended for use on RV vinyl floors. Steam cleaning can damage the flooring by weakening the adhesive that holds the tiles or planks in place.
Furthermore, the high steam temperatures can cause the vinyl to warp or curl. Sticking to mold cleaners and mopping when cleaning your RV vinyl floors is highly advised.
Revitalize Your RV’s Vinyl Floor
Cleaning your RV vinyl floor is crucial to ensuring your home-away-from-home remains in top-notch condition. You don’t want your travels to become a burden, and RV maintenance can be tricky, especially for new owners.
Fortunately, this simple step-by-step guide makes cleaning your RV’s vinyl floor a breeze.
With a little preparation, you’ll be able to easily tackle any spills or stains that occur, bringing your flooring back to its original shine. Once you’ve completed the deep clean, dry the flooring completely and apply a vinyl-safe protective coating.
These quick and easy steps will keep your RV looking like new, so you can focus on making memories on the road.

