
Last Updated on April 5, 2023
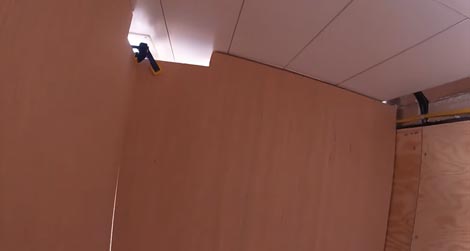
Most RV owners do not realize that water can pose one of the most significant hazards to their vehicles. Your RV shower walls can rot when exposed to water. You could suffer long-term damage to your RV shower walls if not waterproof.
Water can erode the structure of your RV, causing cracks and fissures. It can also cause mold and mildew to form and cause the walls of your RV shower to collapse. To protect it, waterproof it.
RVers need to know how to waterproof RV shower walls and the shower area. The process is straightforward, but it must be performed correctly. We will discuss how you can waterproof RV shower walls easily in just a few steps.
What are Waterproofing RV Shower Walls?
Waterproofing RV shower walls is a process of sealing the seams, joints, and cracks in your RV’s shower using a sealant or caulk. This will help prevent water from entering these areas and damaging your vehicle.
We mean that the sealant or caulk will not allow water to pass through it by watertight. This is different than a water-resistant sealant, which will only slow the passage of water. A waterproof sealant will completely prevent water from passing through it.
How to Waterproof RV Shower Walls Precisely?
Now that you know what waterproofing RV shower walls are and why it is important, let’s discuss how. The steps are simple, but they must be followed for the process to be effective:
1. Clean the Area:
The first step is to clean the area where you apply the sealant or caulk. This is important because any dirt, debris, or soap scum will prevent the adhesive from adhering correctly to the surface.
Use a cleaner that is designed for the shower and RV bathroom. This will help remove any soap scum or mildew that may be present. Rinse the area well and allow it to dry completely before proceeding to the next step.
2. Turn off Water Supply:
The next step is to turn off the water supply to your RV. This will prevent any water from entering the area while you are working.
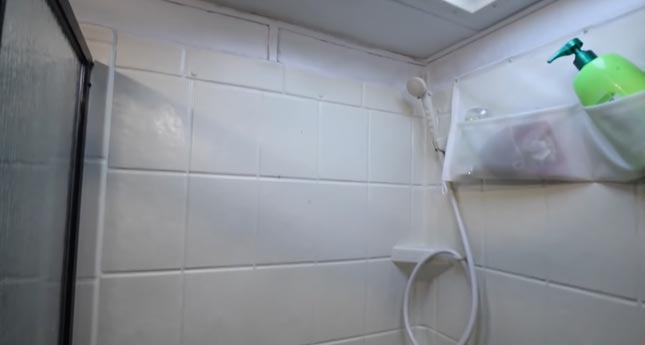
3. Remove Shower Head:
The next step is to remove the showerhead. This will allow you to access the area behind it more easily. Moreover, it will help to prevent any sealant from getting into the showerhead and causing problems.
4. Apply Sealant or Caulk:
Now that the area is clean and dry, you can apply the sealant or caulk. You will want to use a caulking gun to apply it in a smooth, even motion.
You should begin at the top and proceed downward. Make sure to get into all of the cracks and crevices. You may want to use a putty knife or another tool to help you spread the sealant evenly.
5. Let it Dry:
Let it dry completely once you have finished applying the sealant or caulk. This may take several hours, so be patient.
6. Replace Showerhead:
Once the sealant or caulk has dried, you can replace the showerhead. Make sure to turn the water supply back on before taking a shower. In Addition, test the area to make sure that it is completely waterproof.
7. Inspect Regularly:
You should inspect the sealant or caulk regularly to make sure that it has not come loose. If you notice any cracks or gaps, reapply the sealant or caulk as soon as possible.
By following these simple steps, you can easily waterproof your RV shower and prevent any water damage.
Additional Waterproofing Options for RV Shower Walls
You can do a few other things to waterproof your RV shower and prevent water damage. These include:
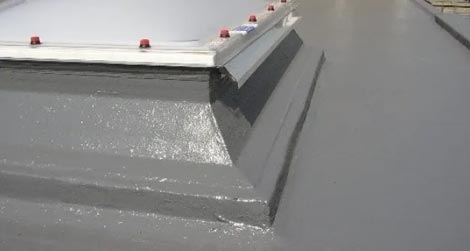
1. Apply a Waterproofing Membrane:
You can apply a waterproofing membrane to the shower walls before applying the sealant or caulk. This will provide an extra layer of protection against water damage. Additionally, it will help to prevent mold and mildew from forming.
2. Use a Waterproofing Spray Paint:
You can also use waterproofing spray paint on the shower walls. This is a good option if you are uncomfortable working with sealant or caulk. It is crucial to choose a specifically designed paint for showers and bathrooms.
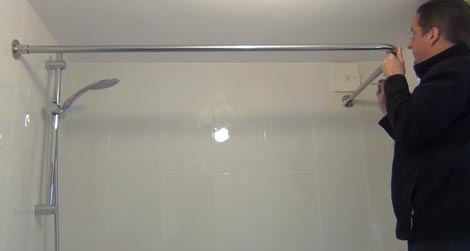
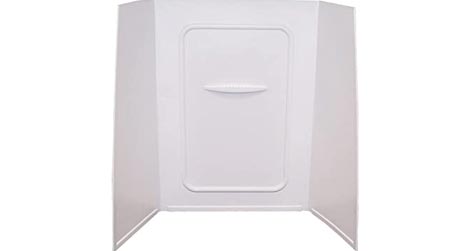
3. Installing RV Shower Surround:
Another great option is to install an RV shower surround. This is a plastic or vinyl enclosure that goes around the shower door and walls. It is watertight and will help to prevent water from entering the area.
4. Epoxies or Polyurethanes:
You can also use epoxies or polyurethanes to waterproof your RV shower. These are applied similarly to sealant or caulk. However, they provide a more durable waterproof barrier.
5. Cement Backer Boards:
If you are planning to tile your RV shower, you will need to install cement backer boards. This will provide a waterproof surface on which to tile. Also, make sure to use a tile adhesive designed for wet areas.
6. Using Liquid Rubber:
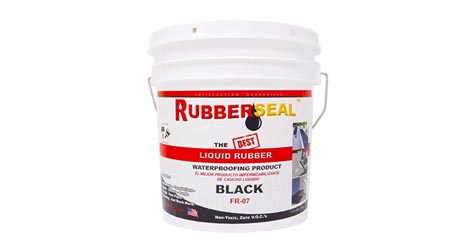
Liquid rubber is a waterproofing sealant applied to any surface, including RV shower walls. It forms a thick, impenetrable barrier that will keep water from seeping through cracks and crevices. Liquid Rubber is easy to apply and found at most online hardware stores.
Using one or more of these methods can effectively waterproof your RV shower and prevent any water damage.
Waterproofing RV Shower Walls: Things to Consider
Showers in RV can get moldy and mildewy quickly, especially if they’re not appropriately waterproofed. It’s a pain to have to deal with mold and mildew in your shower, and it can be dangerous too. Waterproofing your RV shower is the solution!
When waterproofing RV shower walls, there are a few things you need to consider. These include:
1. The Type of Material:
The first thing you need to consider is the type of material you will be using to waterproof the shower base. There are various options available, including sealant, caulk, epoxy, polyurethane, and liquid rubber. You need to choose the option that is best suited for your needs.
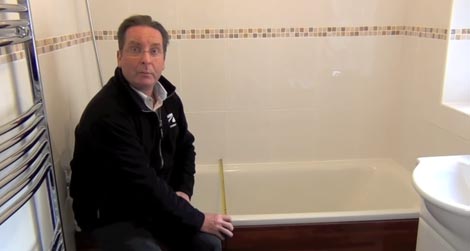
2. The Area to be Waterproofed:
Another thing you need to consider is the area that you need to waterproof. This will determine the amount of material you need to purchase. Make sure to measure the area before making your purchase.
3. The Climate:
You also need to consider the climate where you live. If you live in a hot environment, you will need to use a waterproofing material resistant to heat and sunlight. If you live in a cold environment, you will need to use a waterproofing material resistant to cold weather.
4. The Skill Level:
You need to consider your skill level. If you are not comfortable working with sealant or caulk, you may want to consider using waterproofing paint or an RV shower surround. These are easier to apply and do not require as much skill.
5. Drying Time:
Be sure to factor in the drying time when choosing a waterproofing material. Some materials require several days to dry completely. Others can be used immediately after application.
6. The Cost:
Finally, you need to consider the cost of the waterproofing material. Some materials are more expensive than others. Make sure to compare prices before making your purchase.
By considering these factors, you can choose the best method for waterproofing your RV shower.
The Dangers of Water Damage in RV Showers
Water can be a very destructive force, and it is hazardous in an RV shower wall. A leaky shower wall panel can cause severe water damage to the RV, and it can also lead to the growth of mold and mildew. It is essential to waterproof your RV shower to prevent this from happening.
The dangers can cause by water in your RV showers are:
- Damage to the RV: Water can cause extensive damage, including damage to the walls, floor, and ceiling.
- Mold and Mildew: Water can cause mold and mildew to grow in the RV shower wall. This can lead to health problems for the occupants of the RV.
- Rust: Water can cause rust to form on metal surfaces in the RV, including the shower pan. This can lead to severe damage to the RV.
- Electrical Problems: Water can cause electrical problems in the RV, including shorts and fires.
- Health Problems: Exposure to mold and mildew can cause health problems for the occupants of the RV.
Waterproofing RV Shower Walls: Pro Tips for Success
Waterproofing can be an essential step in protecting your home from water damage. There are many different ways to waterproof your home, and it’s important to choose the proper method for your specific needs.
But there are some essential tips for waterproofing your RV shower walls that every RVer should know:
1. Choose the Right Waterproofing Material:
Not all waterproofing materials are created equal. Make sure to choose a specifically designed material for use on showers and tubs. This will ensure that your shower is properly protected against water damage.
2. Prep the Surface:
Before you apply the waterproofing material, make sure to clean and prep the surface. This will ensure that the material adheres appropriately and provides maximum protection.
3. Apply the Waterproofing Material Evenly:
It’s essential to apply the waterproofing material evenly, so make sure to use a brush or roller to apply it in an even layer. This will help ensure that the material provides maximum protection against water damage.
4. Work Slowly:
Don’t try to rush the process. Working slowly and carefully will help ensure that the waterproofing material is applied evenly and correctly.
Poor RV shower pan waterproofing can result in leaks, and even small leaks can result in significant water damage over time.
5. Let the Material Dry Completely:
Once you’ve applied the waterproofing material, make sure to let it dry completely before using your shower pan. This will help ensure that your shower is properly protected against water damage.
Waterproofing your RV shower walls can be a daunting task, but following these tips will help make the process a bit easier. By doing it correctly, you can ensure that your shower is properly protected against water damage.
FAQs
Let’s take a look at some frequently asked questions about waterproofing RV showers:
01. What are the Best Waterproofing Materials For Rv Showers?
There are many different waterproofing materials on the market, and it’s important to choose one specifically designed for use in showers. Some of the best waterproofing materials for RV showers include silicone caulk, rubber membrane,
02. How Do I Prep the Surface for Waterproofing?
The surface should be clean and free of dirt, dust, or debris. If the surface is not clean, the waterproofing material may not adhere correctly. This can also lead to water leakage.
03. How Long Does the Waterproofing Material Last?
The lifespan of the waterproofing material will depend on the specific product that is used, but most products should last for several years. A quality waterproofing system should last for at least ten years.
04. How Do I Apply the Waterproofing Material Evenly?
A: Most waterproofing materials can be applied using a brush or roller. Apply the material evenly and make sure all surfaces are covered. Also, try to avoid spreading the material too thickly, as this can lead to drying time and adhesion problems.
05. What are the Most Common Problems With Rv Waterproofing?
One of the most common problems is leaks. Leaks can occur if the surface is not properly prepared, the waterproofing material is applied too thinly, or a problem with the sealant. Leaks can also be caused by damage to the waterproofing material.
In Conclusion
When waterproofing your RV shower, the most important thing to remember is that quality matters. The better the product you choose, the more likely it will be able to stand up to water damage and keep your camper clean for years on end.
By doing it correctly, you can ensure that your shower is properly protected against water damage. Take your time and follow these steps so that you can enjoy your worry-free RV shower!
We hope this article on how to waterproof RV shower walls helped guide you through the process of waterproofing your RV shower. Thanks for reading!

