Last Updated on June 20, 2023
If you’re planning an RV adventure soon, it’s crucial to familiarize yourself with your vehicle’s plumbing system, including the importance of the galley tank. So, what is a galley tank on an RV?
A galley tank is a storage tank installed in recreational vehicles (RVs) that holds wastewater generated from cooking, washing dishes, and hands. It is also known as a gray water tank.
The galley tank collects and stores the used water until it can be disposed of properly. And knowing how your galley tank works and how to maintain it properly is essential to ensure a stress-free RV experience.
Throughout this article, we’ll dive into the world of RV galley tanks, discussing the essential aspects of this component and why it’s vital for your RV adventure. Don’t let a faulty galley tank ruin your adventure. Learn how to keep it in top shape.
What Is a Galley Tank on An RV: Purpose
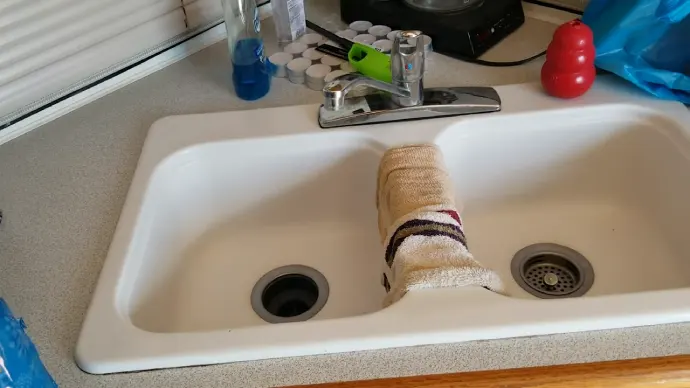
The purpose of a galley tank in an RV is to hold and store wastewater that comes from the kitchen sink. This tank is specifically designed to collect dirty water, such as food scraps and grease, and prevent them from clogging up the main sewage system of the RV.
A galley tank is essential to any RV’s plumbing system because it allows for easy and convenient wastewater disposal while on the road.
Without a galley tank, all wastewater generated from cooking and cleaning would go directly into the gray or black water tank, which can quickly fill up and cause problems with odors and blockages.
Galley tanks come in different sizes depending on the size of your RV. A 10 to 15 gallon galley tank may be sufficient for smaller RVs. But, larger RVs may require a larger capacity galley tank. It’s essential to choose a size that will accommodate your needs while also being mindful of available space.
In addition to storing wastewater, galley tanks also play a role in preventing environmental pollution. By keeping dirty water in the galley tank, you’re helping to ensure that harmful pollutants don’t enter natural bodies of water or soil.
RV Galley Tank vs Grey Tank
An RV galley tank is a holding tank specifically designed to hold the wastewater from the kitchen sink in an RV. This tank is typically smaller than the grey tank, which holds the wastewater from the shower, bathroom sink, and other sources.
On the other hand, the gray tank is a holding tank that collects all the wastewater from the RV’s sinks, shower, and washing machine (if present). This tank is typically larger than the galley tank because it collects wastewater from multiple sources.
What Types of Galley Tanks are Available for RVs?
Different types of galley tanks are available in the market, and each has unique features.
Portable Galley Tanks are designed to be removed easily from the RV and transported to a dump station for disposal.
The tanks are available in various sizes ranging from 5 gallons to 30 gallons, making them ideal for small RVs or those with limited space for permanent installation. Portable tanks have wheels and handles that make them easy to move around.
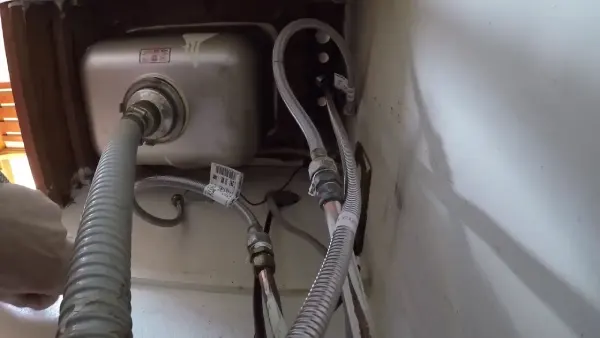
Undermount Galley Tanks are installed permanently under the RV and connected directly to the kitchen sink drain.
These tanks are designed to fit into tight spaces and can hold up to 15 gallons of wastewater. Undermount tanks require professional installation, which can be expensive but ensures a secure connection between the tank and the plumbing system.
Above-Floor Galley Tanks are installed above the RV floor, making them easy to access for maintenance. They come in sizes ranging from 10 gallons to 45 gallons, making them suitable for large families or extended trips without access to a dump station. Above-floor tanks also require professional installation.
How to install a galley tank on an RV?
Installing a Galley Tank in an RV can be daunting, but with the right tools and knowledge, it can be done with ease. To install a permanent galley tank, you will need to follow these steps:
- Choose a location: Determine where you want to install the galley tank. It should be close to the kitchen sink and have enough space for installation.
- Prepare the area: Clean and dry the area where you plan to install your new galley tank.
- Cut into plumbing system: Cut into the plumbing system beneath your kitchen sink using a PVC cutter or saw.
- Install fittings: Attach fittings onto both ends of the cut pipes using PVC cement.
- Install valves: Attach valves onto each fitting to control water flow into and out of your new galley tank.
- Install straps: Secure your new galley tank in place using straps or brackets.
- Test for leaks: Turn on your water supply and test for leaks around all connections between pipes, fittings, and valves.
How do you maintain galley tanks in your RV?
Maintenance is essential for any RV owner, especially regarding the galley tank. Here are some tips to keep your galley tank in good condition:
- Use a filter: Install a filter on the sink drain to prevent food scraps and other debris from entering the tank. This will reduce the chances of clogs and odors.
- Use appropriate cleaning products: Avoid using harsh chemicals or bleach to clean your galley tank, as they can damage the tank’s interior and sensors. Instead, use specialized RV tank cleaning products that are safe for use in septic systems.
- Regularly empty the tank: Emptying the galley tank regularly is crucial to avoid overflows and unpleasant odors. It’s recommended to empty it after every trip or at least once a week if you’re using your RV frequently.
- Flush out the tank: After emptying the galley tank, flush it out with clean water to remove any remaining debris or residue.
- Inspect for leaks: Regularly check for any leaks around the galley tank and its connections. If you notice any leaks, have them repaired immediately to avoid further damage.
How to empty a galley tank in an RV?
When it comes to emptying a galley tank in an RV, there are some important steps you need to follow.
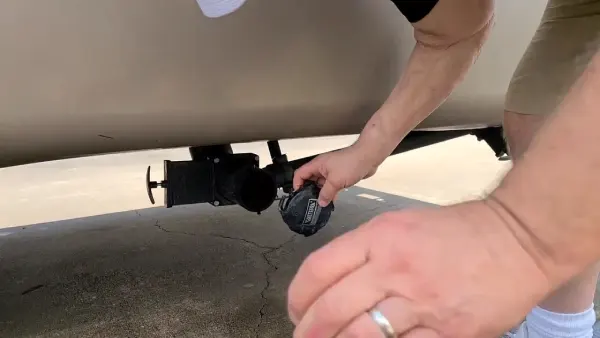
The first step in the disposal process is to locate the dump station at your campsite or nearby facility. Once you’ve found it, park your RV as close as possible to the dump station and ensure all valves leading to the galley tank are closed.
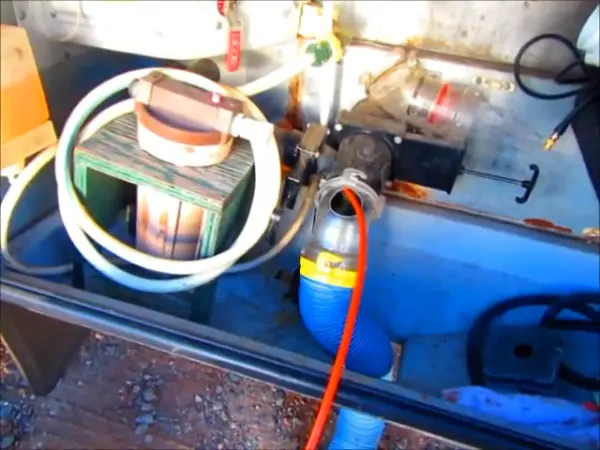
Next, attach a sewer hose to the dump station inlet and then connect the other end of the hose to your RV’s waste valve outlet. Ensure everything is securely connected before opening the valve leading from the galley tank.
Once you’ve opened this valve, allow all its contents to drain completely into the sewer system. You can use a garden hose or a bucket of water to rinse any remaining debris inside the tank.
Afterward, close all valves and disconnect all hoses before storing them away. It’s important to thoroughly clean and sanitize these hoses after each use so they don’t harbor any bacteria or contaminants.
How often should you empty your RV galley tank?
The frequency of emptying your tank will depend on various factors, including the tank size and how often you use your kitchen sink and dishwasher. Generally, you should aim to empty your galley tank every 3 to 5 days or when it reaches 2/3 full.
Neglecting to empty your tank for extended periods can lead to unpleasant odors, clogs, and damage to your plumbing system.
What should you do if your RV galley tank is clogged?
If you suspect your RV galley tank is clogged, immediately stop using your kitchen sink and dishwasher to prevent further damage. Attempting to force water or other materials through a clogged drain can cause leaks and other plumbing problems.
In some cases, you can clear the clog using a specialized plumbing tool or add hot water and a tank cleaner to the tank. But, more serious clogs may require professional assistance. Always prioritize regular maintenance and cleaning to avoid clogs and potential damage to your RV’s plumbing system.
Can you install a larger galley tank on your RV?
The possibility of installing a larger galley tank on your RV will depend on several factors, including your vehicle’s design and plumbing system. Before considering a larger tank installation, it is essential to consult with a professional RV technician or plumber to ensure that the modification is feasible and safe for your RV.
Attempting DIY installations or modifications can cause severe damage to your RV’s plumbing system, leading to costly repairs and potential safety issues. With expert guidance, installing a larger galley tank can increase the convenience and comfort of your RV living experience.
Keep your RV’s Galley Tank in Top Shape with These Expert Tips
The galley tank is an essential component of any RV’s plumbing system. It is responsible for storing and disposing of wastewater from the kitchen sink, ensuring your RV stays clean and hygienic.
Galley tanks come in various shapes and sizes and can be made from different materials depending on their intended use. Installing a galley tank in your RV requires careful consideration of its size, location, and connection to the main plumbing system.
Proper maintenance and regular emptying of the galley tank are crucial to prevent clogs, leaks, and foul odors. Remember to follow safety precautions when emptying the galley tank and dispose of wastewater responsibly.
With these tips, you can enjoy worry-free cooking and cleaning in your RV while keeping your galley tank running smoothly.

