Last Updated on March 7, 2023
Are you deciding whether to paint over your trailer’s wallpaper or looking for ways to spruce up its style? There are a few things you need to know before you can start, but it is possible.
Painting over trailer wallpaper is totally doable and can add a whole new look to your home away from home. With the right preparation, tools and techniques, you can turn an outdated interior wall into a beautiful oasis.
You can transform the inside of your trailer with a fresh coat of paint by reading how to paint trailer walls.
We’ve got you covered with the fundamentals and tips for a flawless finish. Discover what tools are needed, how best to prepare before starting, as well as answers to commonly asked questions about this project.
Can You Paint Over Trailer Wallpaper: Preparation
Preparing for this task can be time consuming and labor intensive. This includes gathering necessary supplies, removing furniture and objects from the room, and covering everything to protect it from paint splatter. Here we will discuss the steps to properly prepare the trailer.
Gather Necessary Supplies
When it comes to painting over trailer wallpaper, preparing ahead of time is key. Having all your supplies ready will ensure a smooth painting process.
First, you will need quality paint primer and paint, as well as brushes. The type of paint and brushes you use will depend on the surface you are painting over. For example, if you are working with old panels that have been exposed to moisture, it’s recommended to use a water-based paint or top coat with an anti-corrosive finish.
Additionally, make sure to get a primer that is specifically designed for metal surfaces. Lastly, check the labels of each product to make sure it is suitable for the material you are working with in order to achieve the best results.
You will also need painter’s tape and plastic sheeting in order to protect furniture and other objects from paint splatter while painting. Drop cloths can be used to cover larger areas or specific items that cannot be moved out of the room such as light fixtures or window sills.
Finally, if your RV walls have existing wallpaper on them, you may want to purchase sandpaper or chemical wallpaper stripper which can help remove stubborn layers of paper more effectively before painting over them.
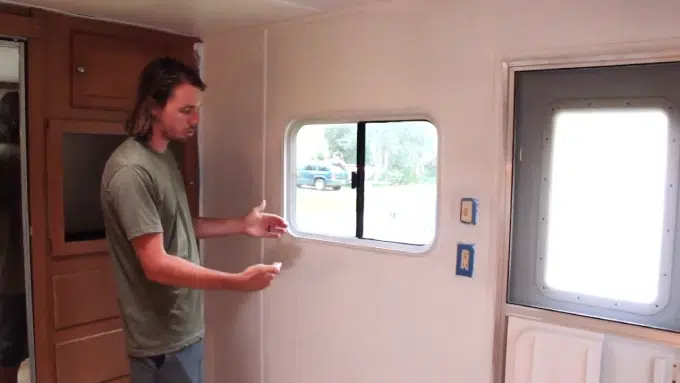
Remove Furniture and Objects from the Room
Once you have gathered all your supplies, it’s time to start prepping the room for painting. Start by removing any furniture and objects from the room so they don’t get in your way while painting.
Make sure to take note of any electrical outlets or switch plates that may be located on the walls so you can easily find them when it’s time for touch-ups later on down the line. Also keep any curtains drawn closed in order to reduce excess dust particles floating around during this process as much as possible.
Cover Everything To Protect It From Paint Splatter
Next up is covering everything up. Start by taping off any areas you don’t want painted using painter’s tape such as edges near light fixtures or window sills etc..
Once done, lay down drop cloths or plastic sheets around furniture and other objects still remaining in the room before starting with primer and paint application itself. This helps keep everything clean while moving things around later once dry.
Lastly, don’t forget about yourself. Be sure to wear proper clothing like a long sleeve shirt and pants when dealing with volatile chemicals like thinners or turpentine which may be present in some primers/solvents being used during this process .
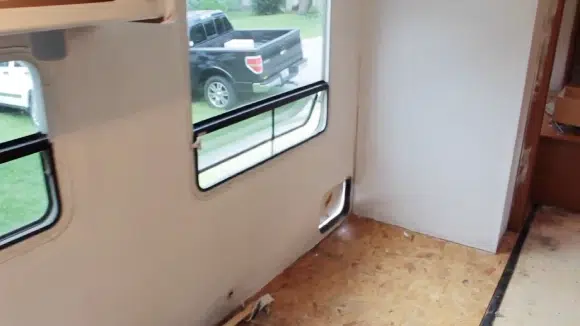
Removing Existing Wallpaper (Optional)
Removing current wallpaper is a necessary step as it will ensure that your new paint job will look its best and be durable. The methods used for removing wallpaper from trailers vary depending on the type of wall covering.
Chemical Stripper:
One method for removing wallpaper is the use of chemical strippers. Chemical strippers contain a strong solution that can soften and dissolve many types of glue used to adhere wallpapers, making them easier to remove.
To use this method, apply a thick layer of the solution directly onto the surface area with an old paintbrush or cloth and let it sit for 5-10 minutes before gently scraping away with a putty knife or scraper tool.
Be sure to wear protective gloves and safety glasses when applying chemical stripper and take care to avoid contact with skin or eyes.
Sandpaper:
Another effective way to remove trailer wallpaper is by using sandpaper or other lightweight abrasive paper. This method should only be used if you are certain that there are no underlying layers of adhesive that may further damage the trailer walls if subjected to this form of abrasion.
Begin by folding an appropriately sized piece of sandpaper in half so that it can fit comfortably between your fingers while still providing enough surface area to sand down the area without damaging other parts around it.
Gently brush back and forth against the wall until all traces of glue have been removed or until a satisfactory amount has come off. Take care not to press too hard on any single spot as this may cause further damage.
Do not forget to wear protective safety gear such as gloves, masks, and safety glasses during this process as well respirators if available due dust particles created through sanding processes.
Cleaning the Walls in Preparation for Painting
Filling Any Nail Holes with Spackling Compound
Before starting to paint over trailer wallpaper, it is important to fill in any nail holes or other imperfections in the wall with spackling compound. This will help create a smoother and more even surface for the new paint to adhere to.
When filling in these holes, start by cleaning off the area around the hole with a damp cloth to remove any dust and debris that may have gotten into the hole. Then, apply a small amount of spackling or joint compound to a putty knife or trowel and spread it evenly over the hole.
Once all of the holes are filled, use sandpaper to lightly sand down the dried spackle until it is even with the surrounding wall surface.
Wiping Walls with a Damp Cloth to Remove Dust and Grease
After all holes have been filled and sanded, use a damp cloth or sponge to wipe down the walls in preparation for painting over trailer wallpaper. This will help ensure that no dust or grease remains on the walls, which could affect how well your paint sticks once applied.
Start by wiping each wall from top to bottom using circular motions and light pressure. If you come across any tough spots, use a mild cleaner like dish soap and water to remove them before proceeding with painting.
Once finished, allow the walls plenty of time (at least 24 hours) dry before painting over trailer wallpaper so that your new coating adheres properly and looks great once finished.
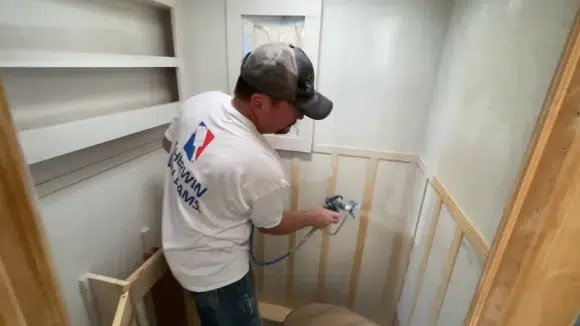
Priming Before Painting Trailer Wallpaper
Applying Primer for Adhesion and Coverage
Once the surface is prepped, it’s time to apply a primer. Primer serves two purposes: adhesion and coverage. A good quality primer will help ensure that whatever type of paint you use (vinyl-based or latex) will adhere to the wallpaper and provide uniform coverage.
When choosing a primer, make sure it is specifically designed for use on vinyl-based surfaces; this will help ensure you get the best results possible. For best results, make sure to use an even coat of primer and allow for ample drying time between each layer of paint.
Applying Paint in Even Coats to Cover Wallpaper
After all the preparation and priming, applying paint in even coats to cover wallpaper is an important step when painting over the trailer wallpaper. It is essential to allow each coat to dry thoroughly before adding a subsequent coat of paint.
To ensure that no air bubbles are formed when applying the paint, use a good quality brush or foam roller to spread the paint evenly and smoothly over the wallpaper surface. Here is an overview of what you need to do for this step:
Start by painting corners first with a smaller brush such as an angled sash brush. Cut-in along edges with even strokes making sure there are no visible lines between walls and trim.
Use a larger brush such as a 9-inch roller for the large flat areas of wall space for an even application across the entire surface area of the wall.
This will prevent any visible lap marks which appear when larger areas are painted from one end to another without blending them together properly through overlapping strokes techniques used on adjacent sections that have already been painted .
When rolling onto previously cut-in areas of walls make sure not to overwork it with back rolling because it can lift off wet paint from cut-in edges.
Before you finish painting, check the walls with natural light to make sure there are no lines or spots where the paint does not look even. If you are painting more than one color in different areas, do this for each wall and each color.
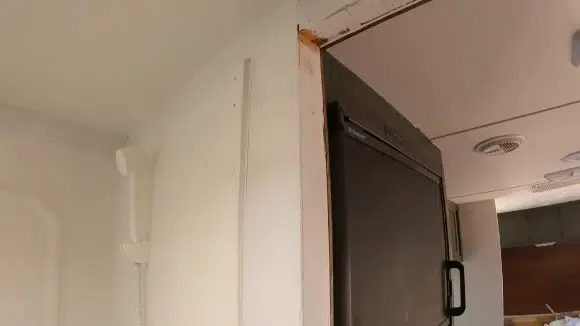
Adding Molding or New Trim
Once you’ve finished painting your wallpaper, you may want to consider adding some new trim or molding for a more polished look. Start by measuring the walls carefully using a tape measure so that you know exactly what lengths of trim you’ll need.
When shopping for trim pieces at your local home improvement store, keep in mind that wider pieces tend to be much easier to install than thinner ones.
Cut each piece as needed before nailing it into place along with its corresponding wall studs; you may also want to use finishing nails instead of regular nails if possible for a cleaner look upon completion. Finally, caulk around each piece so that no gaps or cracks remain visible once everything is dry.
Tips for Aftercare and Maintenance
Cleanup After Finishing the Job and Properly Store Unused Paint Products
Once you’ve finished painting over your trailer wallpaper, it’s important to take the time to properly clean up after yourself. Take any used brushes, rollers, ladders and other items that were used for the job and store them properly.
Make sure to clean off any paint from each item before storing them away in a dry climate-controlled place. Make sure that all unused paint products are tightly closed before putting them away in order to avoid any potential accidents or spills.
Regularly Inspect Paint Job for Any Cracks or Peeling from Normal Wear & Tear in Trailers
After painting your trailer wallpaper, it’s important to regularly inspect your paint job for any signs of wear and tear or damage that may have been caused by normal use of the trailer.
Look closely at walls, ceilings, and other surfaces for any cracks or peeling in the paint which can indicate that something needs repaired or replaced. If you do find any issues with the painted surface, make sure to address them as soon as possible.
Take Advantage of Repainting Opportunities as Needed to Refresh the Look of Your Trailer Interior
While regular inspections may help keep your paint job looking fresh and new, there may come a time when some parts of the trailer could use a touch-up or re-painting altogether.
The good news is that most paints are designed to be repaired without having to remove existing paint first so don’t hesitate to take advantage of these opportunities when they arise.
Again, make sure you do thorough inspections on all areas of the RV interior walls before beginning any painting process in order to ensure everything looks great once it’s done.
Can you paint over wallpaper without removing it?
It is not difficult to paint over wallpaper without removing it, but you must take a few steps before beginning. Clean the walls with soap and water, and repair any damage to the wallpaper. Put tape along the molding, trim, or other areas that go next to the wall, so the paint doesn’t get onto those areas.
Use oil-based primer first and then two coats of paint on top for a nice finish. Make sure you use good materials like high-grade adhesives and painter’s tape for repairs, quality paint for coverage, and a roller brush instead of a regular brush for larger surfaces. Finally, put polyurethane sealant on top to protect it from moisture, so it lasts longer.
What are the pros and cons of painting over wallpaper?
Painting over wallpaper can be a good idea. It’s less messy than removing the wallpaper and also takes less time, so it works well for people who don’t have much money or who are in a hurry.
Painting over wallpaper can also create an interesting look by showing some of the design from underneath. However, it may be difficult to cover up certain types of wallpaper completely with paint, and you won’t get a perfect finish on all surfaces due to variations in texture and thickness.
Also, painted-over wallpapers don’t last as long as other options since paint fades away eventually plus they’re more prone to mold and mildew growth which makes them harder to clean or maintain.
Is it cheaper to replace wallpaper or paint?
When deciding between wallpaper and paint for a home project, the cost is an important factor. Paint is usually cheaper upfront, but may need to be repainted every few years. Wallpaper costs more initially but can last up to 15 years if installed correctly and maintained properly.
So in the long run, wallpaper may be cheaper than painting walls as it does not require constant repainting. Consider both the short-term cost (upfront) as well as the long-term cost (maintenance) when making your decision.
Can you paint interior trailer walls?
Painting the inside of your trailer is a great way to give it a new, custom look. To start, you should clean the walls with soap and water and let them dry. Then sand them lightly before putting on primer so that the paint sticks well and looks even.
After that, use good quality paints and brushes for any corners. You can also use a 3/8″ nap roller for an even finish. Finally, wait until everything is completely dry before adding decorations or furniture back in.
What kind of paint do you use to paint over wallpaper?
When painting over stick wallpaper, there are two types of paint to choose from: oil-based and latex. Oil-based paint is more durable and offers better coverage, but it takes longer to dry and has a stronger smell.
Latex is easier to work with, dries faster, doesn’t have a strong smell, and is cheaper. However, it’s not as long-lasting as oil-based paint. No matter which one you use, you should always prime the wall first so that the topcoat adheres well and lasts longer.
Transform Your Trailer with a Fresh Look
Painting over trailer wallpaper is an easy way to give your trailer a fresh, updated look. However, it is important that the surface is properly prepared beforehand. If the wallpaper has a glossy finish or is made from vinyl or plastic, it may not be able to accept paint and must be removed.
With the right preparation and tools, however, painting over trailer wallpaper can be done quickly and easily to create a beautiful new look for your home away from home.

