Last Updated on June 20, 2023
Many RV owners are faced with whether they can use their RV toilet after winterizing. The answer to this depends on various factors, such as the type of antifreeze used and how well you flushed the water out of your system.
It’s essential to understand the steps involved in winterizing your RV, including draining the water lines, adding antifreeze to the system, etc., to ensure you can safely use your toilet in the spring.
You should not be concerned about how to use your RV toilet after it has been winterized, but here are some helpful tips to ensure that it works as it should. Read on.
Can You Use Your RV Toilet After Winterizing: What You Need to Know
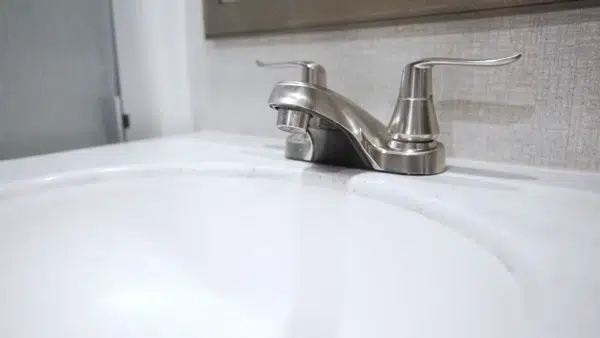
Winterizing your RV is essential to protect it from the harsh winter weather. Preparing the RV toilet for the cold season is one of the most important parts of winterizing your RV.
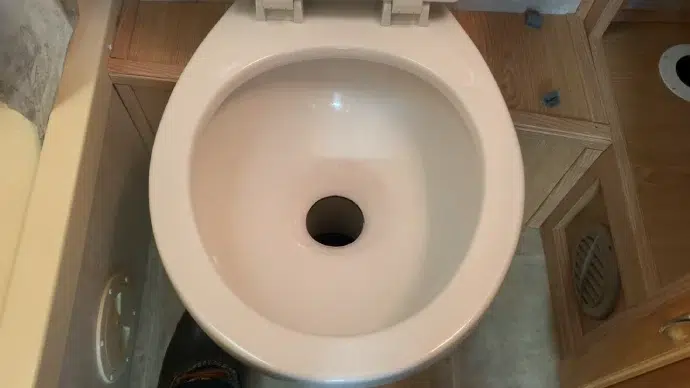
Nevertheless, you can use your RV toilet once you have winterized it again. But you have to take some steps first.
Understanding the Winterization Process
Winterizing your RV is an essential process that should be done before the cold weather hits. It involves protecting the plumbing system of your RV from freezing, which can cause damage to pipes and fixtures. Understanding the winterization process is crucial in ensuring your RV toilet is adequately prepared for winter.
Why Winterizing is Important for Your RV Toilets
A critical aspect of winterizing your RV process is appropriately winterizing your RV toilet. But why is it so important to winterize your RV toilet?
The main reason for winterizing your RV toilet is to prevent any damage caused by freezing temperatures. Water in the pipes can freeze and expand, causing them to crack or burst. This can lead to costly repairs and even water damage inside your RV.
Another reason to winterize your RV toilet is to avoid unwanted odors or bacteria buildup during the off-season. Properly cleaning and sanitizing the toilet before storing it can ensure it will be ready for use when you need it again.
Steps to Properly Winterize Your RV Toilet
Properly winterizing your RV toilet protects the plumbing system and ensures a safe and clean water supply. Here are the steps you need to follow to winterize your RV toilet properly:
Step 1: Empty and Clean the Holding Tank
Emptying and cleaning the holding tank is the first step in winterizing your RV toilet. Starting with a clean slate is crucial to ensure no waste or debris is left behind to freeze and damage the plumbing system during winter.
To empty the holding tank, locate the valve that opens it. This valve is usually located on the side of an RV and is identified by a handle or lever. Once you’ve found it, attach a sewer hose to the valve and run it into a proper disposal site.
After emptying the tank, it’s time to clean it thoroughly. Start by adding water to the tank until it’s about two-thirds full. Then, add a specialized holding tank cleaner like Pine Sol or use household products such as baking soda, vinegar, or bleach.
Let the solution sit for at least 12 hours before draining it out through the same valve used for emptying. Rinse out the tank several times until all traces of cleaner are gone.
Don’t dump holding tank waste onto the ground or in an area where it’s not allowed. Always follow proper disposal guidelines and regulations.
Step 2: Drain the Water Lines
This step ensures that all water is removed from the system and prevents freezing during the colder months.
To begin, turn off the water supply to your RV and open all faucets and valves to release any remaining water. Next, locate the low-point drains in your RV plumbing system. These are typically located underneath your RV and can be identified by a valve or cap.
Once you have located the low point drains, attach a hose to each one and direct them away from your RV. Open the valves or remove the caps to allow all the water to drain from your plumbing system. It is important to note that some RVs may have multiple low-point drains, so be sure to locate and drain them all.
After draining all of the water from your plumbing system, blowing compressed air through the lines is recommended to remove any remaining water. This can be done using an air compressor or a hand pump designed explicitly.
It is also important to drain any external hoses or attachments connected to your RV’s plumbing system, such as a hose used for flushing your black tank.
Step 3: Add Antifreeze to the System
Antifreeze helps protect your RV’s plumbing system from freezing temperatures and prevents any damage that could occur.
When choosing an antifreeze for your RV, make sure to select a product that is specifically designed for RV use. Regular automotive antifreeze contains chemicals that can be harmful if ingested, so choosing an appropriate product is essential.
You must locate the water pump and bypass valve to add antifreeze. The bypass valve lets you pump antifreeze through the system without filling the freshwater tank.
Once you have located the water pump and bypass valve, follow these steps:
- Close all faucets and valves in your RV.
- Pour approximately one gallon of antifreeze into a clean bucket.
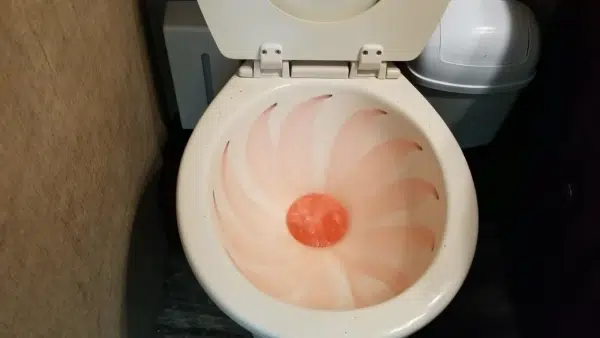
- Turn on the water pump and open each faucet one at a time until you see pink-colored antifreeze coming out of each one.
- Flush your toilet several times until you see pink-colored antifreeze in the bowl.
- Turn off the water pump and remove any remaining water from the toilet bowl with a sponge or towel.
It’s important to note that after adding antifreeze to your RV’s plumbing system, you should not use any fixtures or appliances that require water until you have flushed out all of the antifreeze in the springtime.
Step 4: Run Antifreeze Through the Toilet
Running antifreeze through the system is essential to winterize your RV toilet properly. This will prevent any remaining water from freezing and causing damage to your plumbing system.
First, ensure all water has been drained from the holding tank and water lines as outlined in previous steps. Once you’ve done this, you can run antifreeze through the toilet.
First, locate the water pump in your RV. You’ll need to access it to switch it over to bypass mode. This will prevent any antifreeze from entering your freshwater tank.
Next, locate the water line that connects to the toilet. You’ll need to disconnect it and attach a short length of tubing that can be inserted into an antifreeze container.
Once you’ve done this, turn on the faucet for your toilet and allow any remaining water to drain out. Then turn off the faucet and pour enough antifreeze into the container to cover the end of the tubing.
Turn on the pump and flush the toilet several times until pink antifreeze begins to come out of the bowl. This ensures that there is enough antifreeze throughout the entire system.
Finally, pour a cup of antifreeze down each drain in your RV, including sinks, shower, and bathtub drains. This will ensure that all parts of your plumbing system are protected from freezing temperatures.
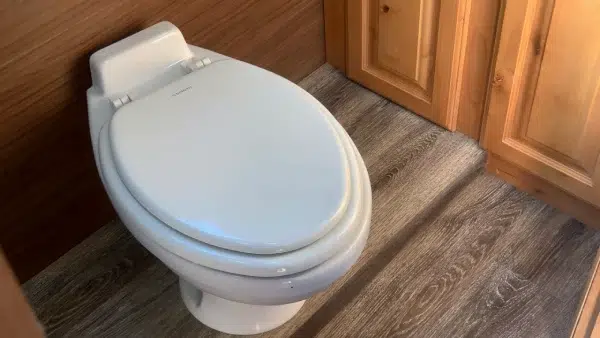
Preparing Your RV Toilet for Use After Winterization
After properly winterizing your RV toilet, it is essential to prepare it for use again. This involves flushing out the antifreeze and sanitizing the toilet to ensure it is clean and safe.
The first step in preparing your RV toilet is to flush out the antifreeze. Begin by turning on the water pump and opening all the faucets in your RV, including the shower head and outdoor faucets. This will help to clear out any remaining antifreeze from your plumbing system.
Next, fill up your RV’s fresh water tank with clean water. Add a cleaning solution specifically designed for RV toilets, such as Thetford Aqua-Kem or Camco TST Ultra-Concentrated formula. Follow the instructions on the product label for proper dilution and application.
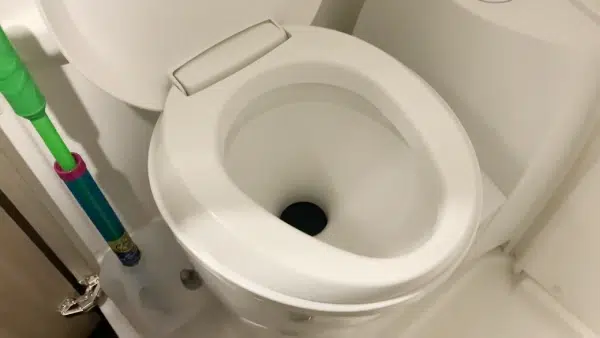
Flushing and Sanitizing Your RV Toilet After Winterization
After winterizing your RV toilet, you may wonder how to get it ready for use again. Flushing and sanitizing your RV toilet is an essential step in the process.
Remove the antifreeze from the water lines when flushing your RV toilet after winterization. You can do this by turning on the faucets and flushing the toilet until clear water comes out. This will ensure that no antifreeze is left in the lines that could potentially damage your plumbing system.
Once you have removed the antifreeze from the water lines, it’s time to sanitize your RV toilet. Sanitizing helps kill any bacteria or germs that may have accumulated during winter.
You can use bleach and water to sanitize your RV toilet. Mix one cup of bleach with one gallon of water and pour it into your RV toilet bowl. Let it sit for 10 minutes before flushing it out with fresh water.
It’s important to note that you should never mix bleach with other cleaning products, as this can create toxic fumes. Also, wear gloves and protective eyewear when working with bleach.
After sanitizing your RV toilet, clean the exterior surfaces with a mild cleaner and warm water. This includes the seat, lid, and flush handle.
Common Mistakes to Avoid When Using Your RV Toilet After Winterization
When it comes to using your RV toilet after winterizing, there are some common mistakes that you should avoid to prevent damage and ensure proper functioning. Here are some things to keep in mind:
- Not correctly flushing the antifreeze out of the system: One of the most critical steps in defrosting your RV toilet is flushing out any remaining antifreeze. If you don’t do this properly, you may have a foul-smelling and potentially harmful residue in your toilet.
- Using too much water: While it may be tempting to use a lot of water when flushing your RV toilet after winterizing, this can cause problems. Too much water can dilute the chemicals that help break down waste and lead to clogs or other issues.
- Forgetting to sanitize: Sanitizing your RV toilet after winterization is essential for preventing the growth of bacteria and other harmful microorganisms. Be sure to follow the manufacturer’s instructions for sanitizing products and procedures.
- Neglecting regular maintenance: Even if you’ve adequately prepared RV toilets for winterization, neglecting regular maintenance can still lead to problems. Regularly clean and inspect your toilet, and address any issues promptly.
Should you leave faucets open after winterizing the RV?
It is generally not recommended to leave faucets open after winterizing an RV. This is because when the water inside of the pipes begins to freeze, it can expand and cause the pipes to crack or burst, resulting in costly repairs.
Additionally, leaving the faucets open can lead to additional water loss which can be both inconvenient and expensive. For proper winterization, it is best to turn off any running water sources and drain the lines completely before storing them for extended periods of time.
Can you shower in a winterized RV?
It is possible to take a shower in a winterized RV. However, proper preparation for cold weather boondocking is necessary to ensure your safety and comfort. You should ensure that all RV pipes are properly insulated and heated to prevent freezing.
Additionally, you will need to consider the water pressure, types of heating elements used, and tank capacities when showering in colder temperatures. It is also important to keep an eye on the temperature inside the RV while showering, as cold air can quickly sneak in through open doors or windows.
Finally, it’s always a good idea to have extra supplies such as propane tanks or generator fuel on hand just in case of emergencies. With planning and preparation, taking a shower in a winterized RV can be done safely and comfortably.
Enjoy a Safe and Comfortable Outdoors Adventure
Winterizing your RV toilet is essential to protect your plumbing system and avoid costly repairs. But, before using your RV toilet after winterization, you must take some necessary precautions.
Flushing and sanitizing your toilet is crucial to ensure a clean and hygienic environment for you and your fellow travelers. Always remember to use the correct antifreeze, avoid common mistakes, and follow the proper steps when flushing your system.
With this knowledge in hand, there’s no reason why you can’t enjoy a safe and comfortable trip into nature anytime.

